
When I talk to people about prototyping, it’s usually consensus that it’s useful and not done often or thoroughly enough. Another topic is: How to approach this properly?
It is important to point out first that prototyping does not guarantee a successful product. Prototyping is essentially a cost optimization technique: A rejected prototype is a success – since it prevents you from building something that you would expect to fail.
So one requirement of a prototype is to provide measurable results. It should under no circumstances be the goal to use the result itself as the later product!
Protoyping should be fast and recklessly done in effort to enhance the throughput. The idea is that a good idea will shine through even if the implementation is bad.
Let’s first define what prototyping in game software development means.
Prototypes categories
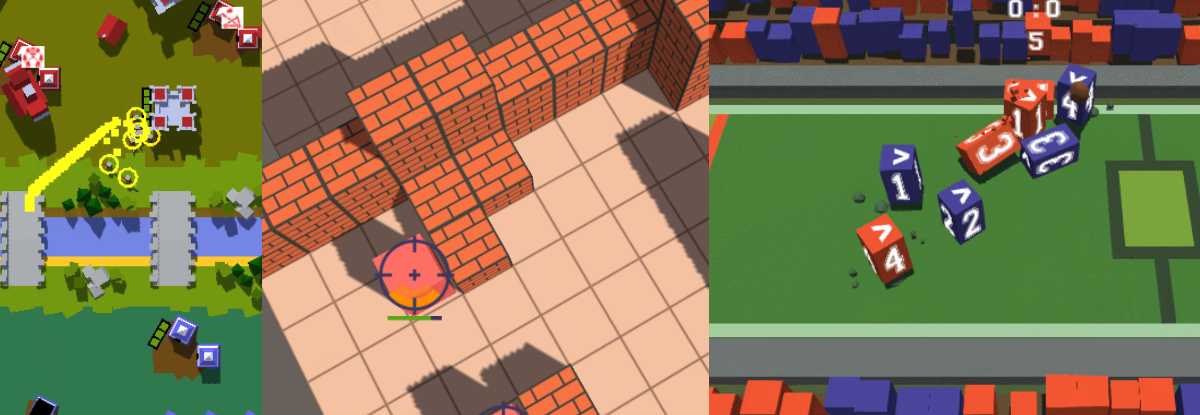
In my opinion, it makes sense to group game prototypes into four rough categories:
- Technical prototypes
- Visual prototypes
- UX/UI prototypes
- Game mechanical prototypes
Technical prototypes
Whenever we are asked if a certain technology will suit the implementation of a game, the most reliable way to find an answer (next to actually attempting to use it), is to use the technology in a project of a very small scope. Of course this can be done in existing projects as well – you’ll have to weight the benefit of being closer to your actual project code against possible slow downs when struggling with existing technology in the project. Don’t underestimate the speed benefit of starting from scratch!
This kind of prototyping usually gives us great insights into understanding new technology better. The other benefit is that this also produces measurable data that can be tested against requirements (in games this usually means performance or loading time) – without risking the ongoing project development.
This kind of prototyping is probably done the most often. It is also the kind that is easiest to deal with, since the scope of the prototype is usually well confined and the results are most of the time easily measurable through crunching numbers on a CPU. Another contributing reason is that this kind of development goes very well with just a single person involved
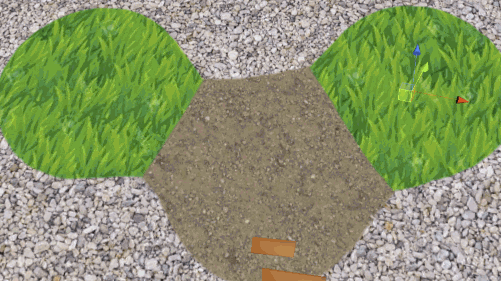
Visual prototypes

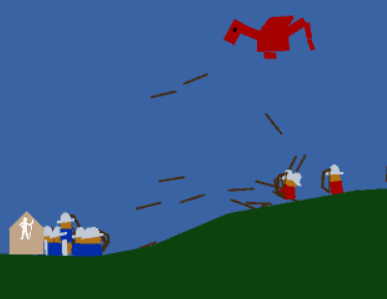
Similar to technical prototypes, visual prototypes explore a certain target of visual quality for a game. UI and game mechanics are faked or scripted for limited interactivity. When testing the prototype on target platforms, it can also contribute certain key performance indicators measurements. The actual goal however is to achieve a visual impression.
UX / UI prototypes
A mistake easily and often done when developing games for platforms that offer different input mechanisms than the development platform is to not test the UX. Touch screens enable different types of interactions and more than once I’ve been sitting in meetings where one had to point out that a certain input mechanism wouldn’t work for touch screens. On top of that, smart phones may have high resolution displays, but they are very small compared to desktop monitors – it sounds stupid to point that out, but such mistakes are easily made! The same principle problems apply to VR development for instance.
Developing a prototype for testing a hypothesis about certain input mechanics can therefore be crucial. When the actual project is too large and cumbersome to iterate quickly, it can be worthwhile to set up a small project that compiles quickly to verify the direction of development.
Measuring the results is difficult. The proper way is to do user testing when you believe that your prototype is ready. To ensure that the implementation in the project has not deviated from the prototype experience, you’ll need to repeat the same user test after the prototype solution has been implemented in a product. This is necessary because the user experience will change due to different graphics and context.
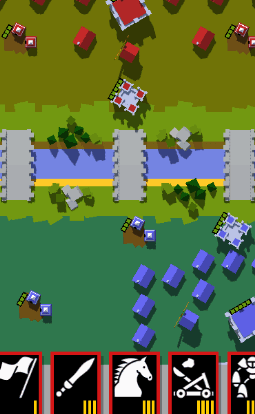
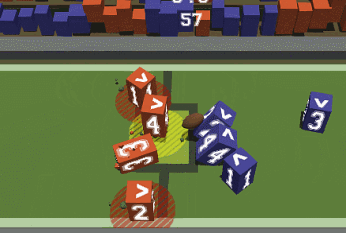
Game mechanical prototypes
We rarely create revolutionary new game mechanics. Most often we iterate on existing ones. Even then, we might need to test if a mechanic is working as intended. If for instance, we want to make an iteration of a turn based battle mechanic, it may be useful to test the changes before implementing the actual game.
Measuring the quality of a game mechanic is however more difficult compared to the other types of prototypes: Mastering a game can take much time and effort on the player’s side – and letting one player test a game mechanic for hundreds of hours may seem not to be feasable.
Depending on the game you intend to develop, this might still be cheaper than starting the production process! Especially in PvP games, the perception of game rules by players can change a lot over time during long term interaction: A game mechanic that is fun in the beginning might turn out to be notoriously annoying after a certain time has passed and it might happen that it turns out that this can’t be fixed.
Combining prototypes
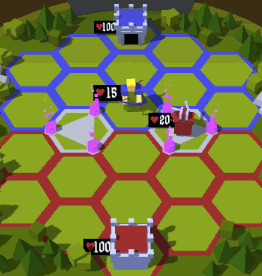
Most prototyping we do is not solely one single instance of the categories I’ve described: The prototypes I’ve developed at InnoGames are most often game mechanical prototypes combined with UX prototypes. This is a useful combination since a game mechanic without proper input mechanic isn’t going to perform well at any test, no matter how elaborate the game design might be.
It is important to focus on just two category types! When building UX / Game mechanic prototypes, the artwork has to stay simple so we can iterate quickly. When developing a technical / visual prototype, using “real” assets produces more accurate numbers for performance evaluation while giving a good impression on the visual outcome.
If you try to combine too many elements into a single prototype, you’ll lose agility. One should retain the challenge of combining these four branches for the development of the final product!
Developing a prototype
Over the recent 3 years at InnoGames, I’ve been in several teams and projects that were trying to create new games.
Over this time I’ve learned that prototyping new games comes with some quite frustrating parts: Almost all prototypes will never bloom into real projects and even those that do won’t necessarily end up as a successful project. I still have some prototypes installed on my phone just because I still feel sorry for not having made them into a proper game.
Working on a prototype though is very fun: You go through lots of stages very quickly, develop and change plans every day. Your influence on the game is huge as it’s a highly creative process.
In average, we worked for about 2-4 weeks on a single prototype. But depending on the presentation outcome, we continued working on a few selected prototypes for more than 4 months. The technical debt built up over that time scale is huge – which will slow down progress over time. This is why it is important to start the actual product development soon after. But there is no general rule: You have to make this decision. It’s better to continue working on a prototype until you feel safe to start into production.
Rejecting prototypes
Rejection is very important when prototyping. As mentioned before, rejected prototypes are successful prototypes!
There are several instances at which prototyping can fail:
- When the game designers present their idea to developers they may reject the idea of implementation due to complexity
- When development goes on, team members may realize that the idea doesn’t work – technically or fun wise or input wise
- Usertests with the prototype show that it is not living up to the expectations
- Despite successful usertests, the team or management may veto development due to concerns over success
Rejection feels bad, of course. You’ll have to learn to deal with it. Some celebrate the rejection of a prototype and the start of a new one.
Personally, I encounter the negative emotion with the feeling of being proud of what we’ve achieved in a very short time. That is another reason why I continously document my progress using short GIF sequences: I can always look back and see the highlights of the prototypes I’ve worked on.
Using Unity for prototyping
Unity has proven very useful in the process of building prototypes because of several reasons:
- It’s very easy to start a project and deploy it to target devices
- Testing the project on PC is quick and simple Manipulating the scene state while the game runs can help during testing
- Dropping in assets or creating simple ones on the go is easy
- Non-developers can pick up editor mechanics pretty quickly
- It’s fairly easy to create custom editor tools
In my experience, working alone on the code base of a prototype works best. But even then, cooperation is important: How do you integrate the game designer into the process? I remember very well how our game designer managed to set up a level and balance the game play in a prototype – despite having very little experience with Unity herself at that time. She managed to do so because I exposed the important parts in a way that she could tweak it easily and without touching any code.
Which should highlight this: While writing dirty code during prototype development is normal, it is still important to adhere at least some important coding rules:
- Split data and code
- Use scriptable objects to store global balancing data
- Use monobehaviours in scenes to tweak animations and behaviour
- Avoid redundancy in code and data (DRY principle)
- Keep dependencies in code to a minimum
- Separate code based on responsibilities whenever useful
Principles that I keep violating (don’t do this in production code!)
- Using the update loop instead of event listeners
- Costs more performance
- Initialization code is usually simpler
- Requires fewer dependencies
- Using FindObject/-ByTag for setting up relationships
- Writing code that relies on the scene set up and expects change in the scene through the editor
- Namespacing, proper naming, clear separation
What’s my strategy for making prototypes?
The most important questions to ask are:
- Which parts of a game idea are most important to test?
- What shortcuts could we take to keep the effort of prototyping scope small?
- Are there game design rules that can be ignored or simplified?
- 2D or 3D?
- What do we want to achieve with the prototype?
Common mistakes I try to avoid are
- Making silent assumptions …
- regarding the goal
- about requirements that do not exist
- Having a different focus as the game designer
- like getting lost in technical details
- not caring enough about the needs of the designer
- honoring code quality too much
- Not time boxing tasks
- when something needs longer than a day, I communicate this early on
- working on a single feature for more than 2 days that doesn’t add much to the prototype can’t be afforded
- Polishing the wrong details
- Not communicating enough what I do
Things I try to do
- Documenting and communicating my process via small GIFs
- Asking for feedback early on
- Trying to understand the motivation behind ideas
- Working with the Unity tools so that game designers can tweak things
Last but not least: It’s very hard to keep an overview when working on technical details – having a game designer next to me is a must have!
Which tools do I use?
When it comes to Unity, I rarely use libraries or asset packs. Instead, I try to be self sufficient. Exceptions are libraries that are easy to plug in and take some unecessary work load of my shoulders. I can highly recommend Lean Touch for instance, which makes dealing with touch input much easier.
For art assets, I often use icons from https://game-icons.net/ – which can be easily tweaked.
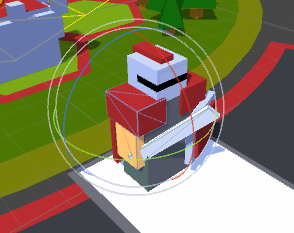
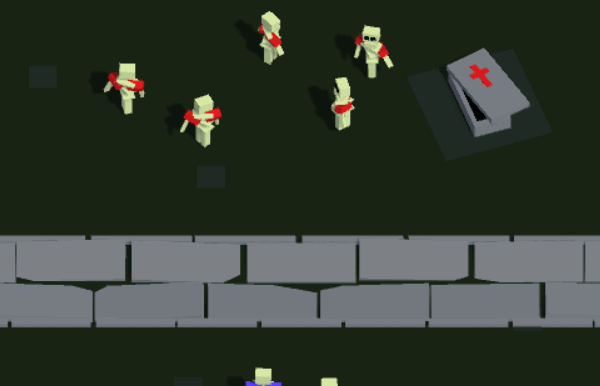
As for 3d and 2d art, I most often stick to quads and cubes. It’s may sound limiting, I perceive it as quite the contrary:
The advantage of using cubes and quads is that you keep your focus while retaining the ability to create new assets quickly. This requires of course at least some skills on the art side. If you can’t create your own artwork, you’ll need to rely on 3rd party assets.
General tips for creating simple 3d assets:
- Use solid colors – avoid textures
- Use harmonizing colors that are not overly saturated
- Limit yourself to flat geometry (only cubes for instance)
- Use as few primitives as possible
More important than the looks of a prototype is the animation! I believe so because pictures only tell us “what is” wheras animations tell us “what happens”. A cube can be anything, but a jumping box is a character!
Animating something with particles, physics or an animator controller inside Unity is something I rely heavily on:
A lot of developers prefer animating things in code using tweens – however, I can recommend only to learn using the animator controller instead. It needs a bit of a time to pick up, but once you’ve got the hang of it, it’s almost as fast as setting up a tween in code while retaining greater flexibility in the looks of the animations. Especially tweaking an animation is far easier done through unity’s animation tools. I only use tweens for dynamic animations or things where I want to automatize animation setups.
Physics is something I tend not to use often, but then again, it’s sometimes extremely handy to create animation effects:
A point I can not stress enough is to utilize the tools that Unity come with: When it comes to cooperation, the editor interface is far simpler to work with for anyone else than you. As a developer, it feels easy to use code for everything, but it’s very hard for anyone else – and when it comes to prototype code, it’s even hard for other developers!
Conclusions
There is no general approach to do prototyping right. It depends a lot on your team member weaknesses and strengths. Take the time to establish your practices and tools.
Prototyping also needs trust: Your stakeholders must believe in your team’s abilities and judgement. Likewise, your team needs to update and inform the stakeholders as honestly as possible and respect their opinions.